How do I add my logo and colours?
Add your logo from your phone or on the website, in Settings → Branding. Colour, style and footer are part of Pro.
Step 1: Open Settings → Branding. Your invoice is at the top, and each row says what’s set.
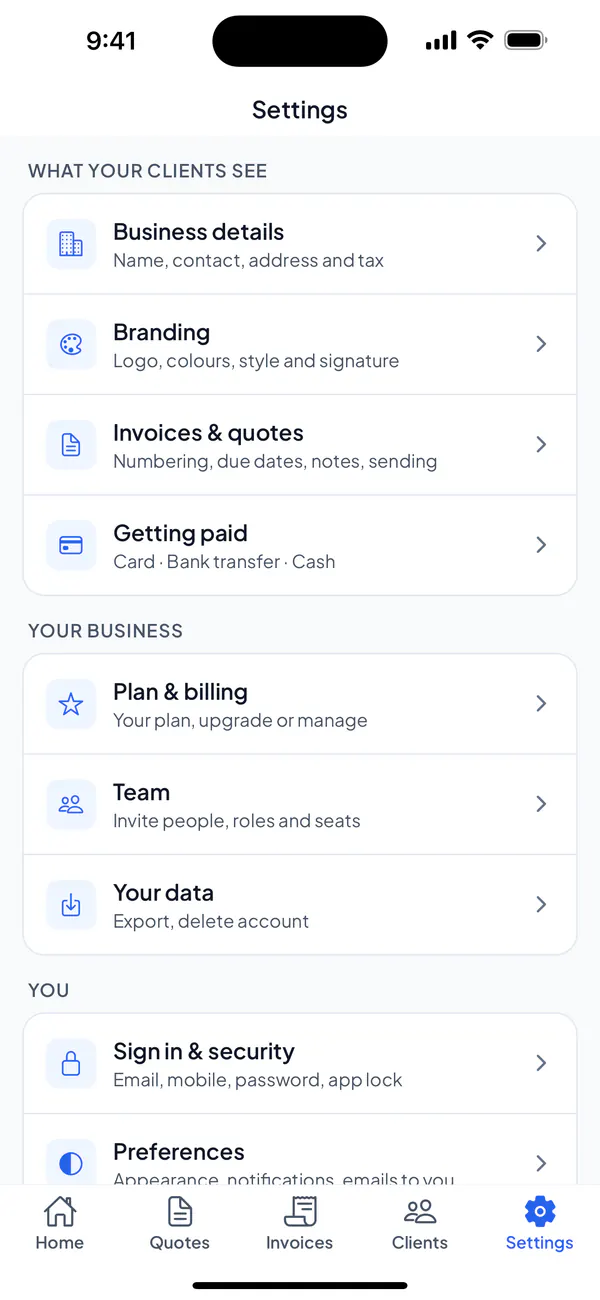
Step 2: Tap Open the sample invoice to see the whole page, in your logo, colour and style.
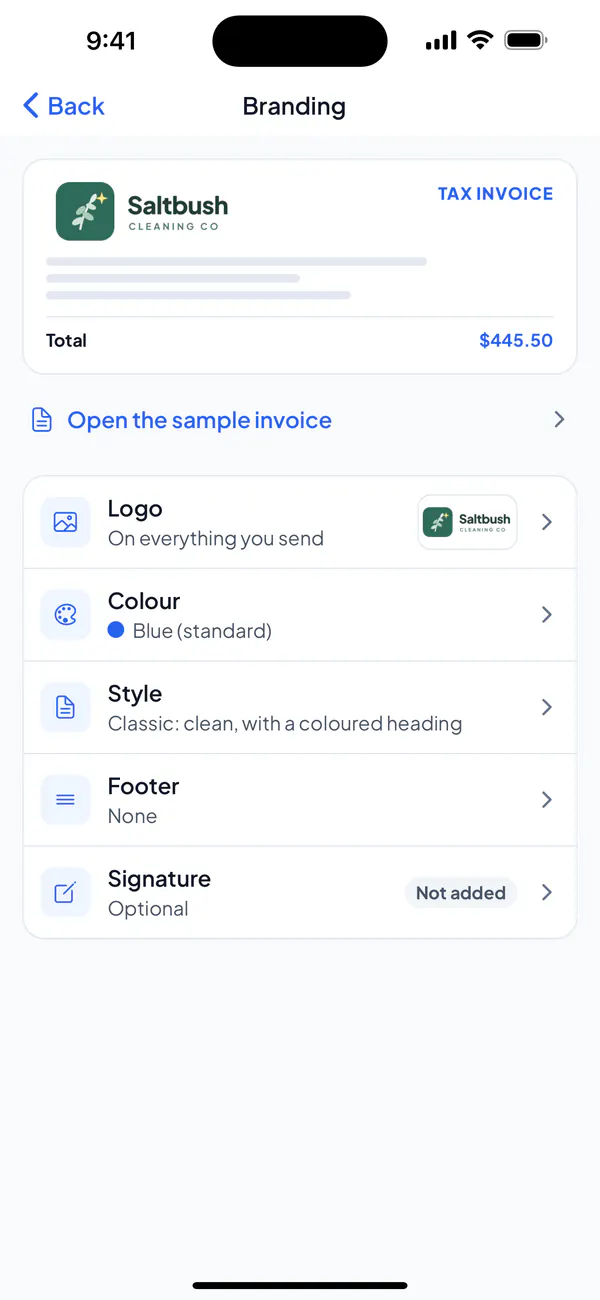
Step 3: Tap Logo, then Choose a photo, or Take a photo, and crop it if you like. It’s made the right size and saved straight away, and your invoice shows it.
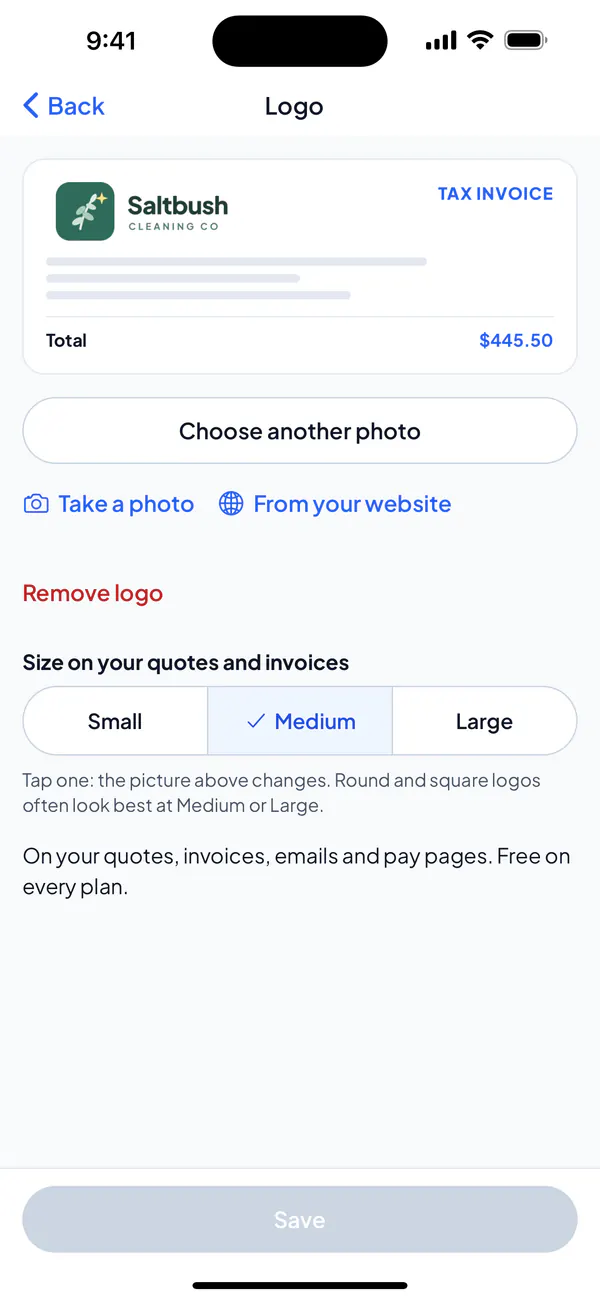
Step 4: On Pro, tap Colour, pick one and tap Save: your invoice at the top shows it first. Style and Footer work the same way.
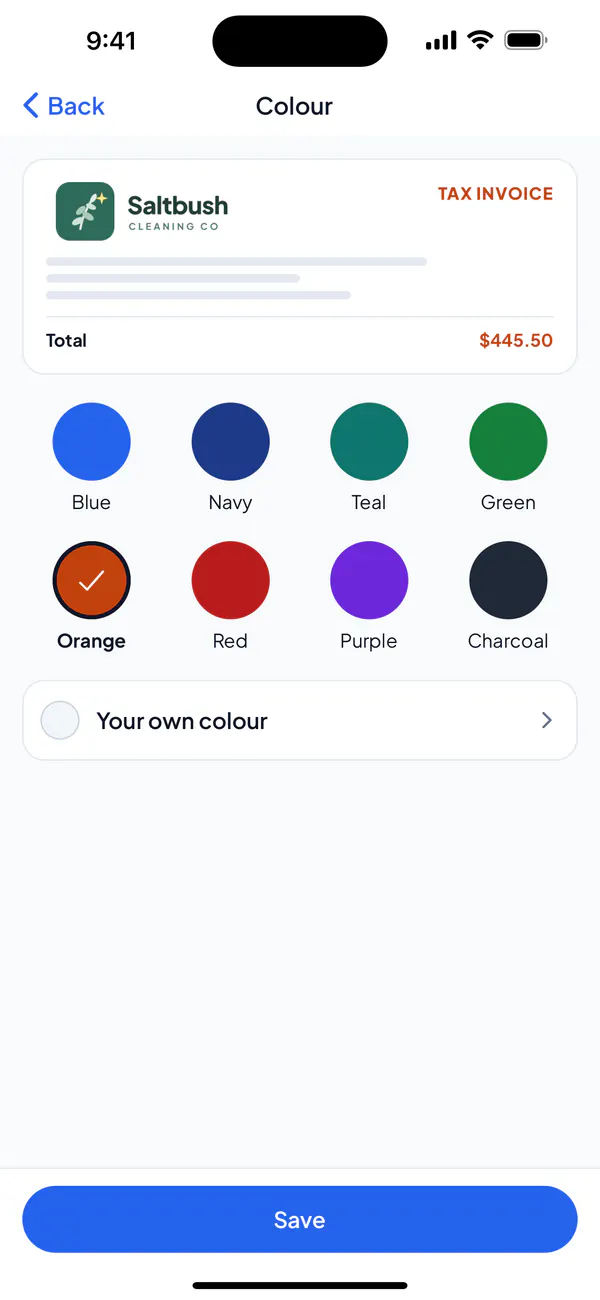
Step 1: Open Settings → Branding.
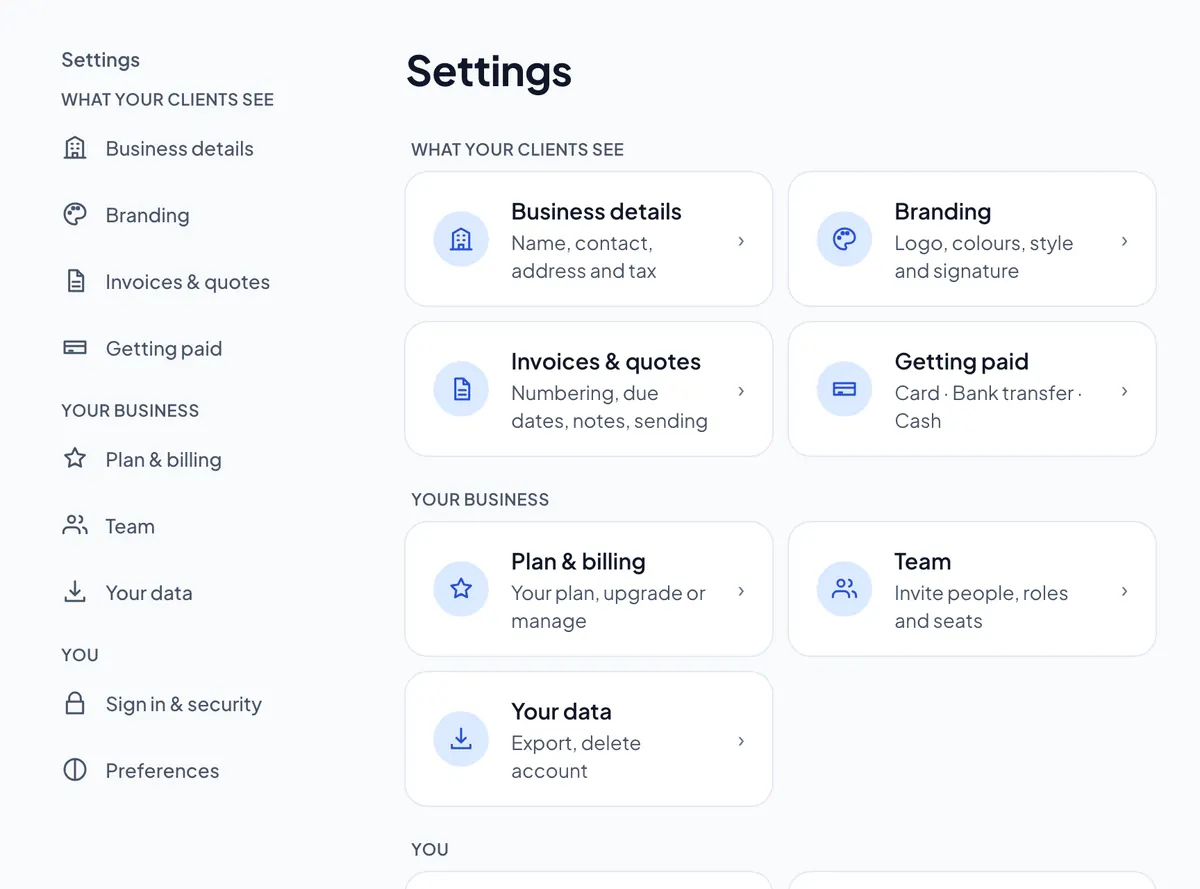
Step 2: Next to Logo, choose Add your logo (Change, once you have one), then Choose an image: a PNG or JPG, up to 1 MB. It’s saved straight away.
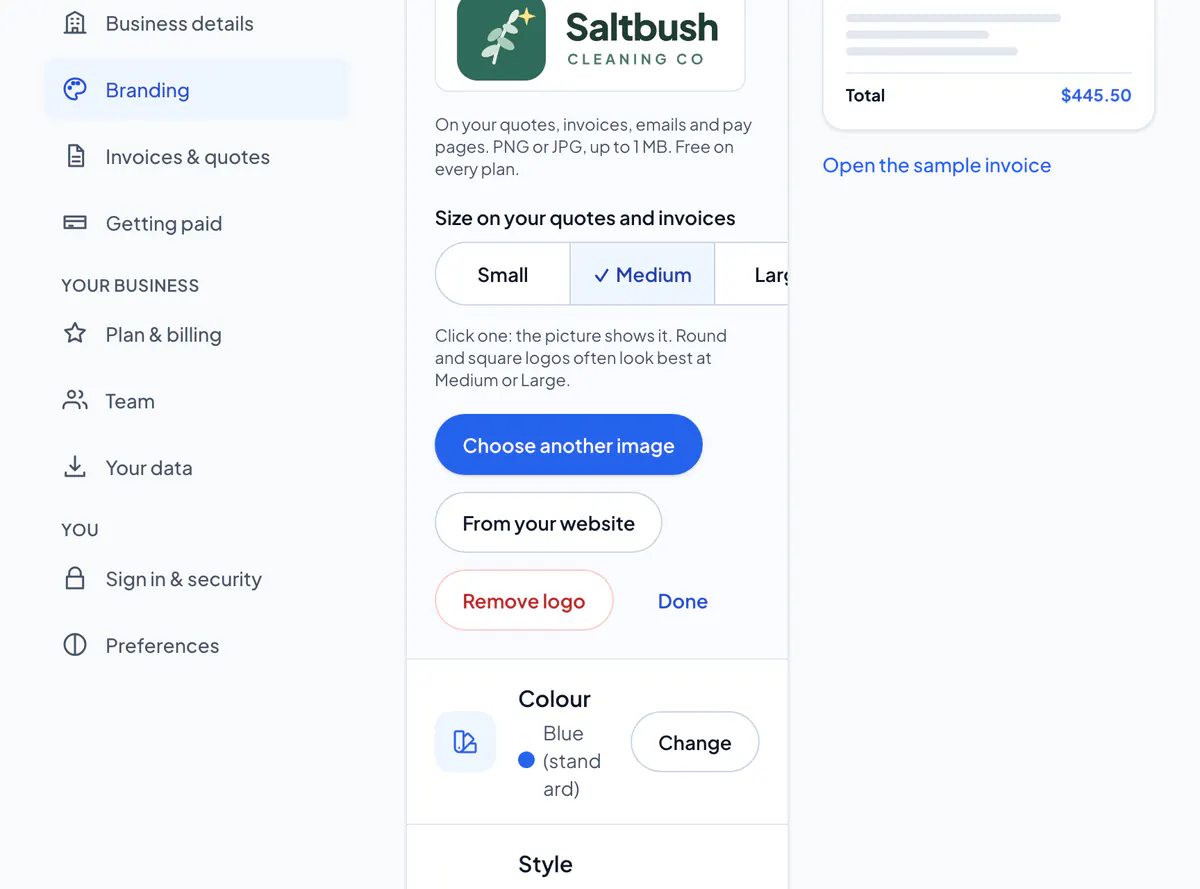
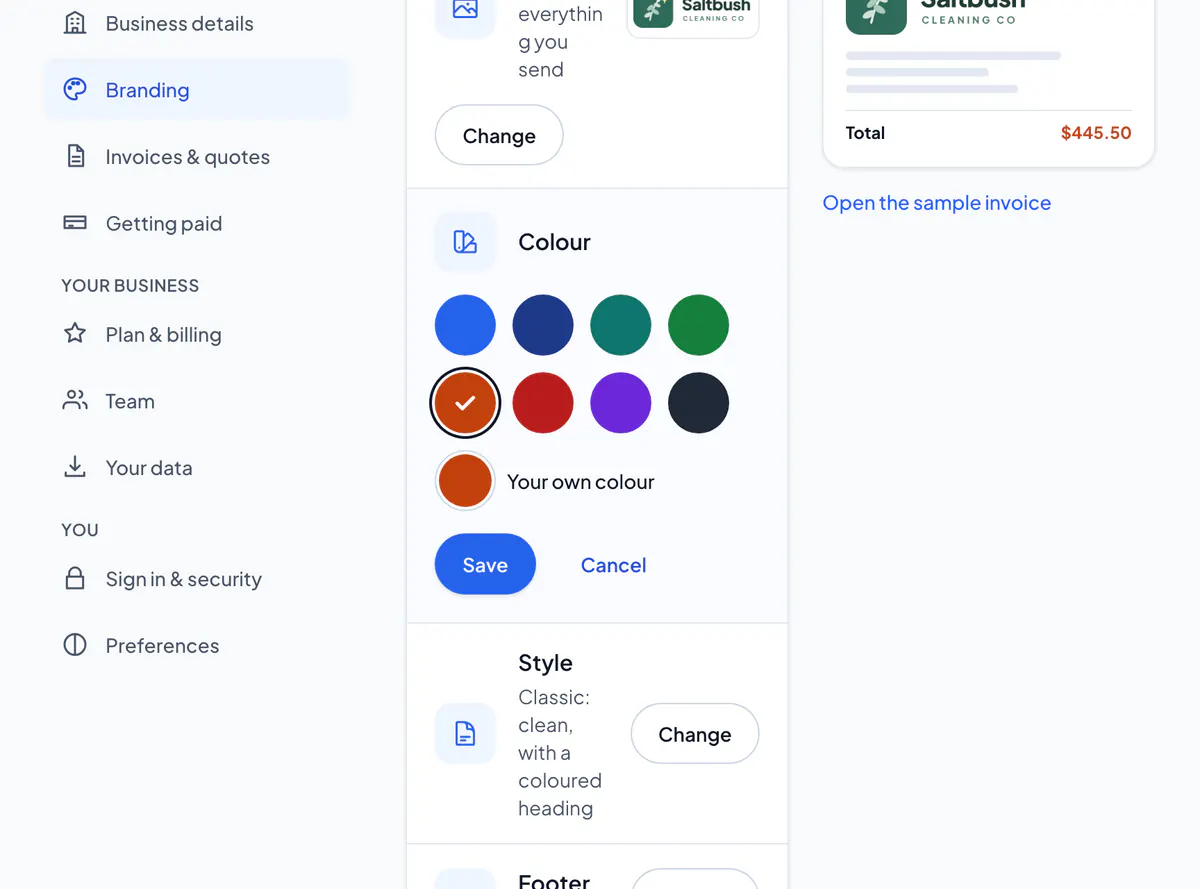
Step 3: On Pro, choose Change next to Colour, pick one and choose Save: your invoice beside the list shows it first. Style and Footer work the same way.
Step 4: Choose Open the sample invoice to see the whole page.
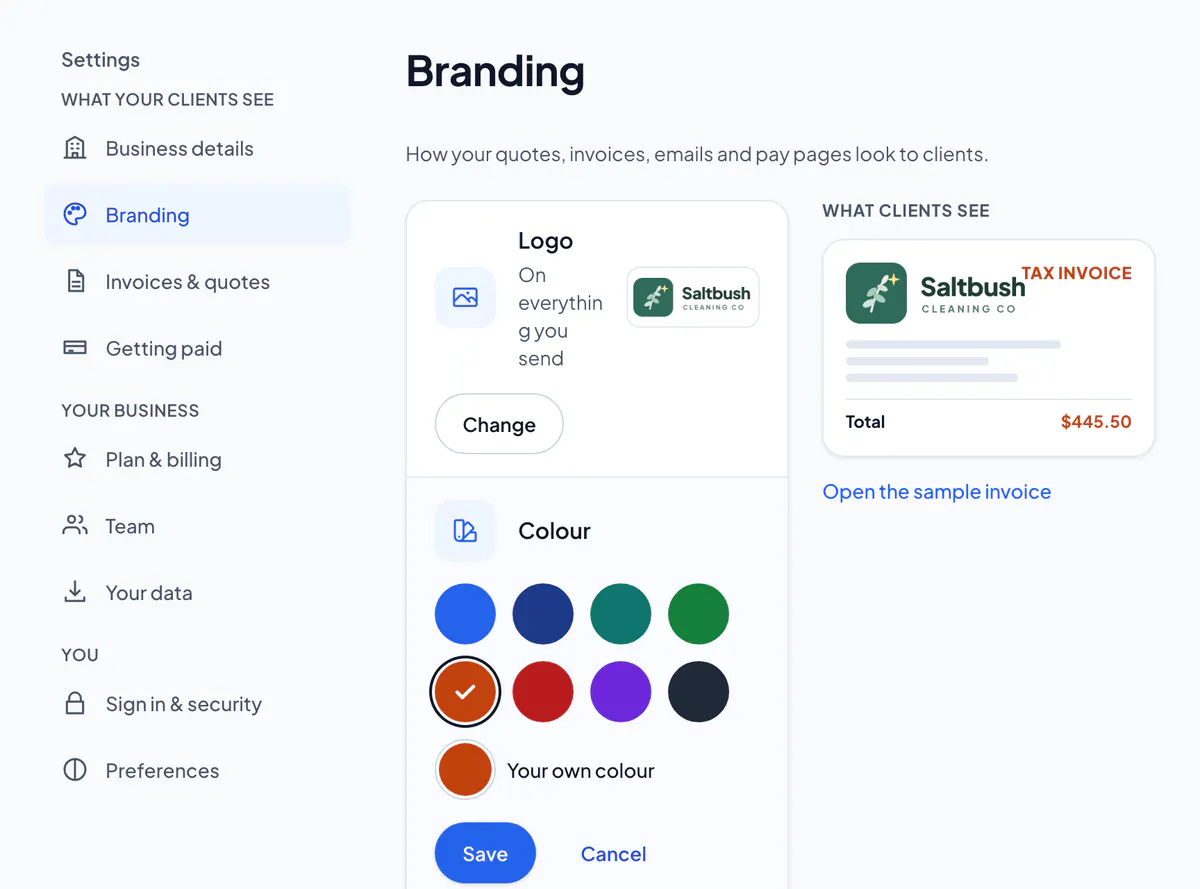
Your logo is free on every plan: add it from your phone or on the website, and it’s on your quotes, invoices, emails and payment page. Your colour is on your PDFs and emails, and your style and footer on your PDFs.
No logo yet? Your business’s initials go in its place, on your colour, so everything you send looks finished. Your logo replaces them as soon as you add it.
Logo too small or too big on your quotes and invoices? Open Logo in Branding and pick Small, Medium or Large: your invoice shows it as you pick, and Save keeps it. It’s free on every plan.
On Free you can still try a colour, a style or a footer, and see it on your invoice and the sample: Save says See Pro instead.
Your signature is the last row: draw it and choose Save signature, and it’s printed on your quote and invoice PDFs. It’s optional. Only the owner and admins can change these.
Did this answer your question?
Related articles
Still stuck?
Email support@thetechcompanygroup.com and we’ll help, or see Support.